
To fill the system we will start with the first one:
-
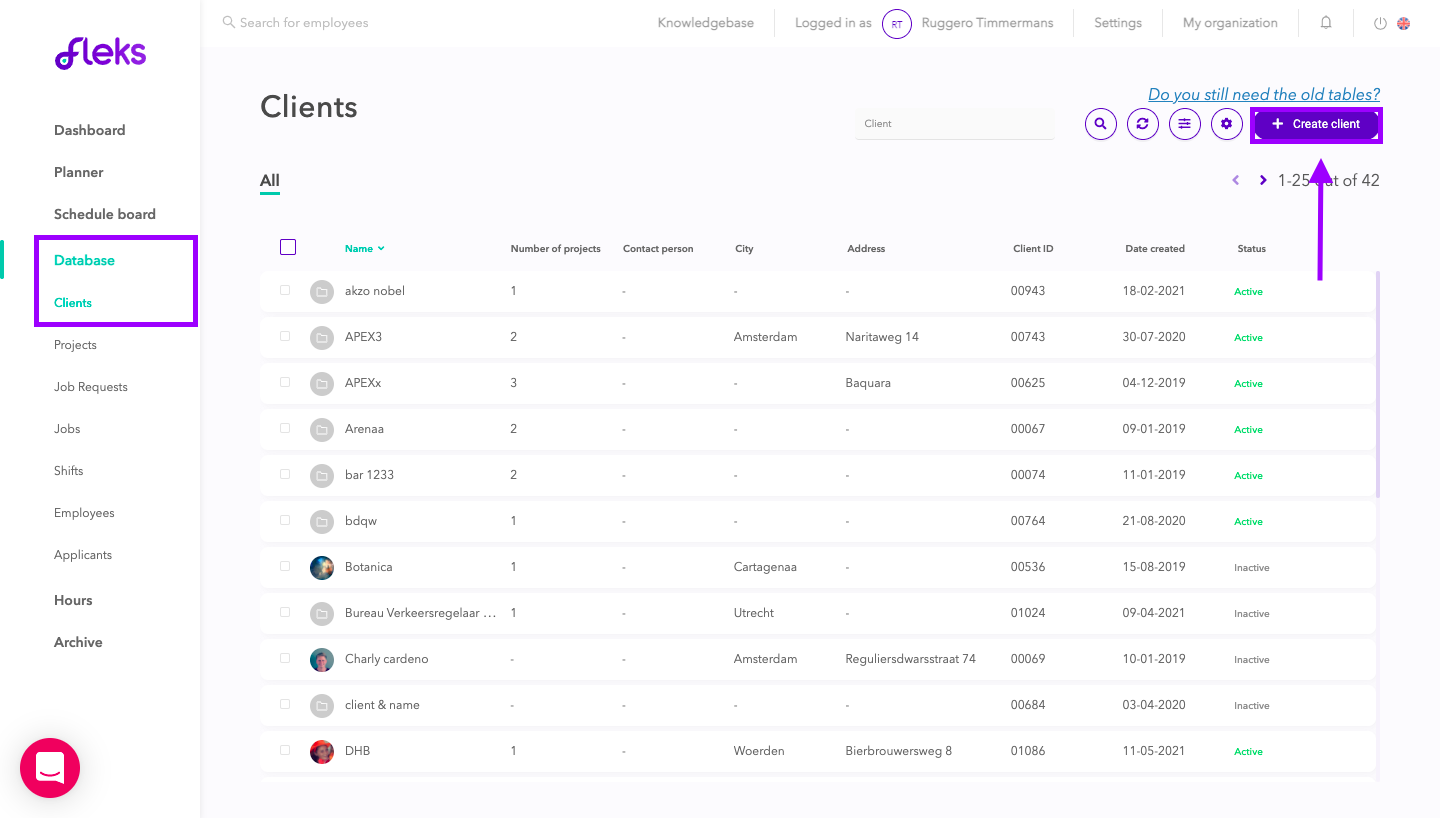
Adding 'Clients'
The top layer exist out of the clients, you add them by going to [Database > Clients > Client]. (See image below)

-
Adding 'Projects'
This is the place where you add the briefing, quiz questions, evaluation link, payment method, declaration form (if this is different from the standard) and any additional documents. You can also create a project here to add all the necessary information to the correct project.
Go to [Database > Projects > Create Project]
(See image below)

When a project is published, all open services are visible in the mobile app of the employees. Once you have added a pool, the services are only visible to people from that pool. If a project has not been published, the services are not open in the app and employees can therefore not register for services themselves.

-
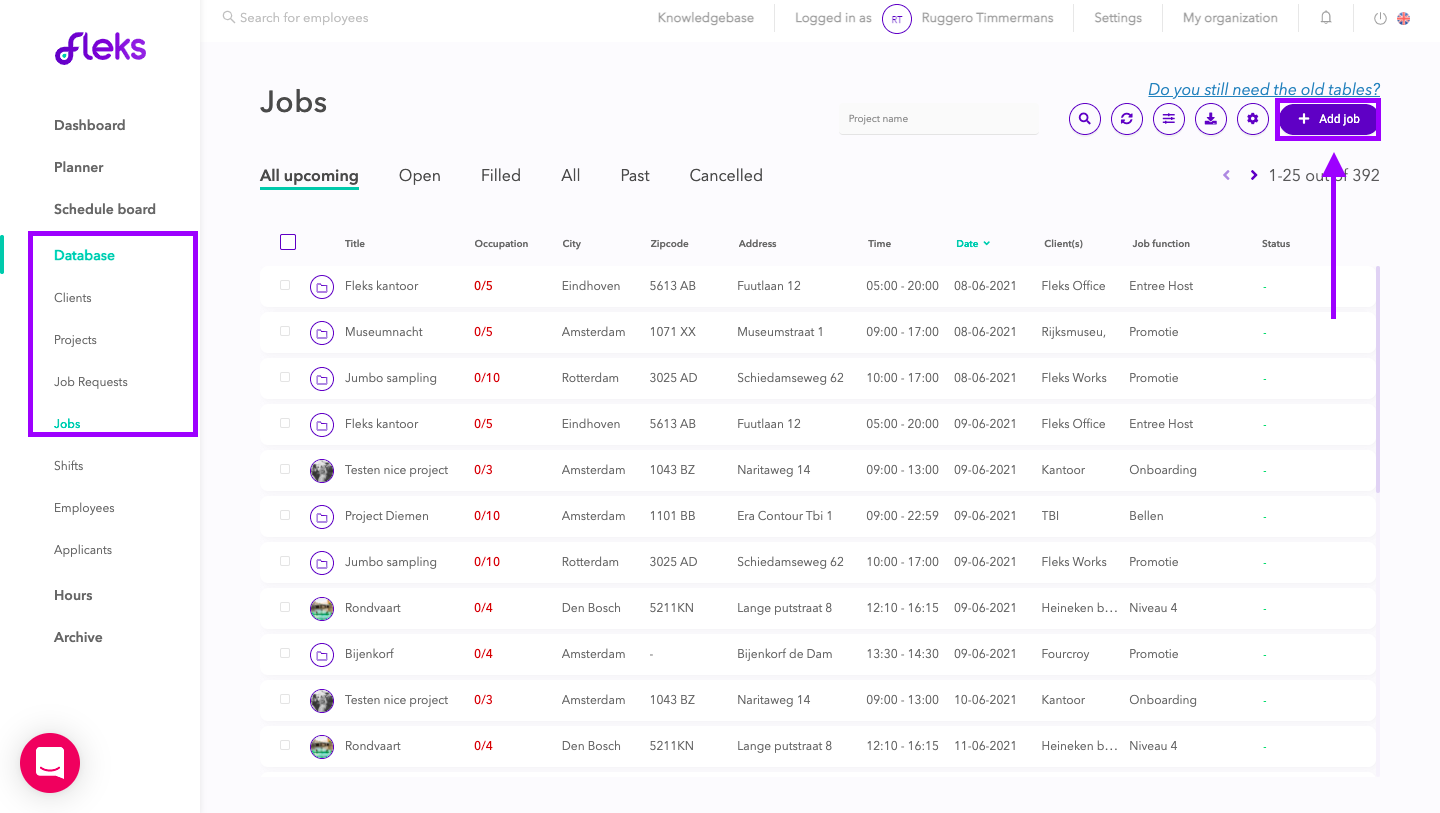
Adding 'Jobs'
The 'Jobs' are what you schedule the employees for. Here you enter the start and end time, date, positions (how many employees are needed), function and location. You can also add extra documents to give clearer instructions to your employees. To do this, go to [Database > Jobs > Add job]
(See image below)

-
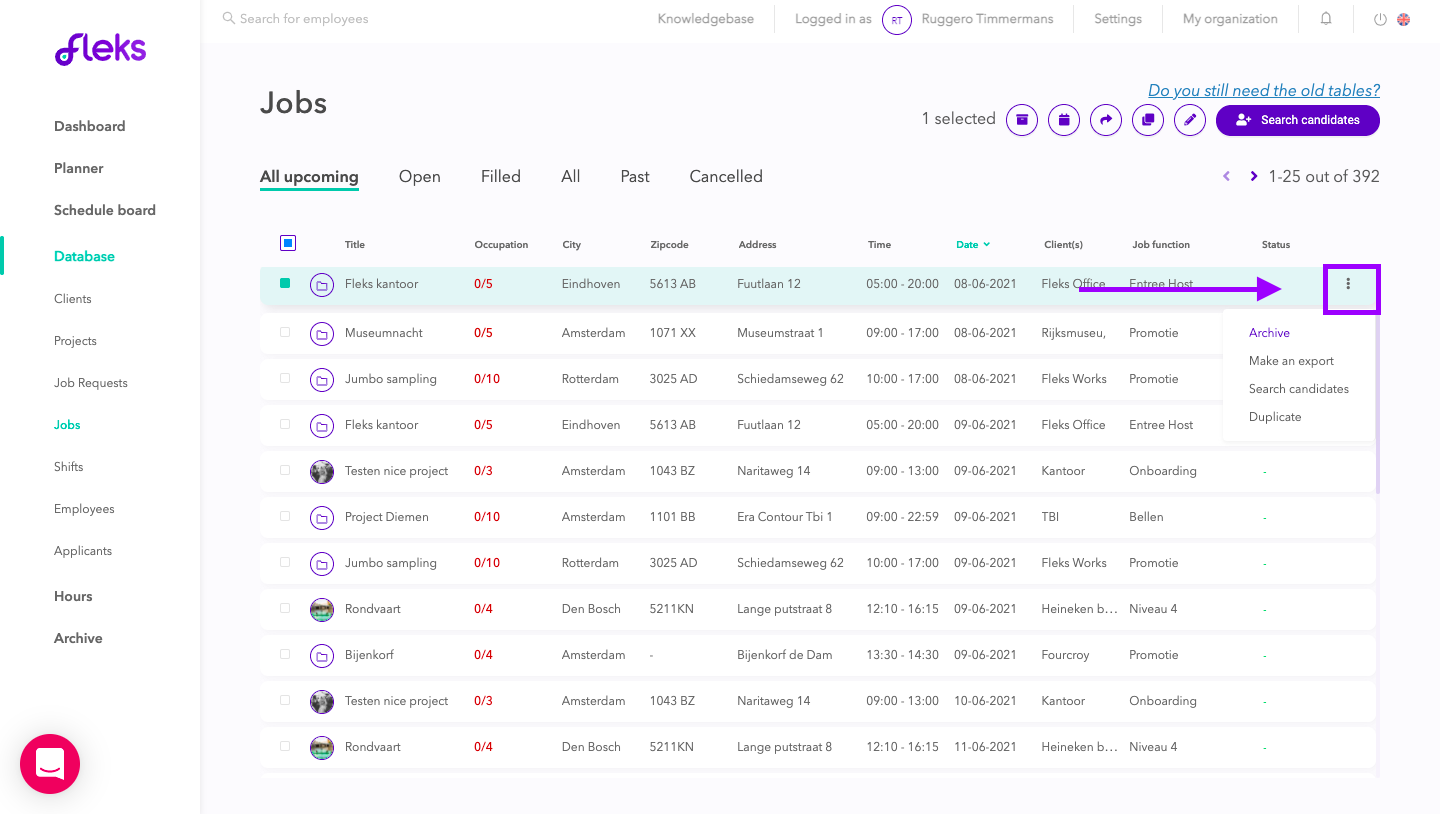
Scheduling employees on jobs
You can quickly and easily schedule employees for 'Jobs' once you have created the projects correctly. To do this, move your cursor to the three grey dots next to a Job and then click on it once.
(See image below)

If you click on the dots, you will see the following screen.
(See image below)
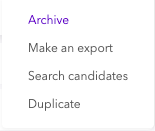
Click here on 'Search candidates'. You will then see the following screen.
(See image below)
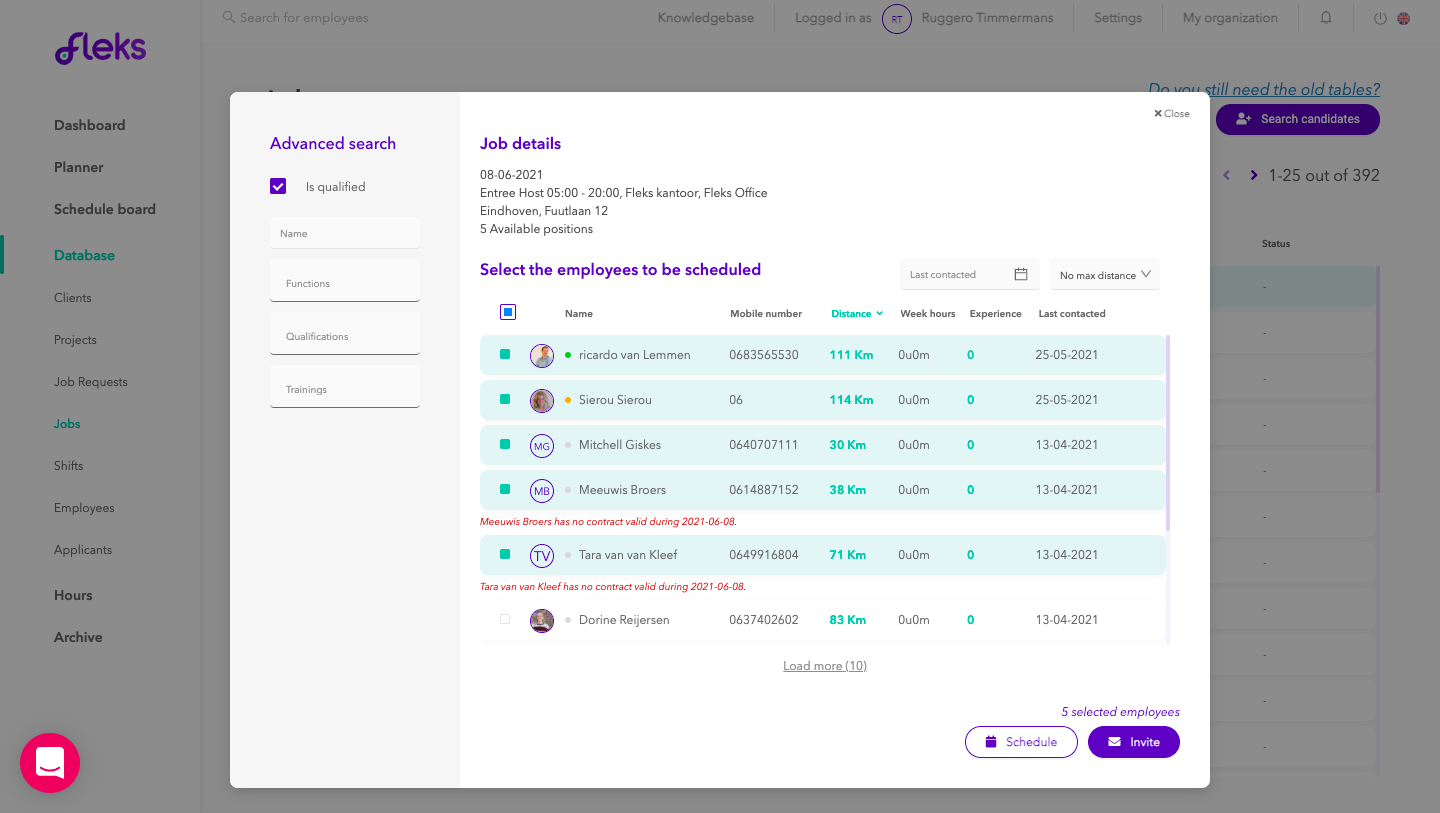
Here you can schedule or invite employees based on functions, qualifications, training and possible maximum travel distances.