
-
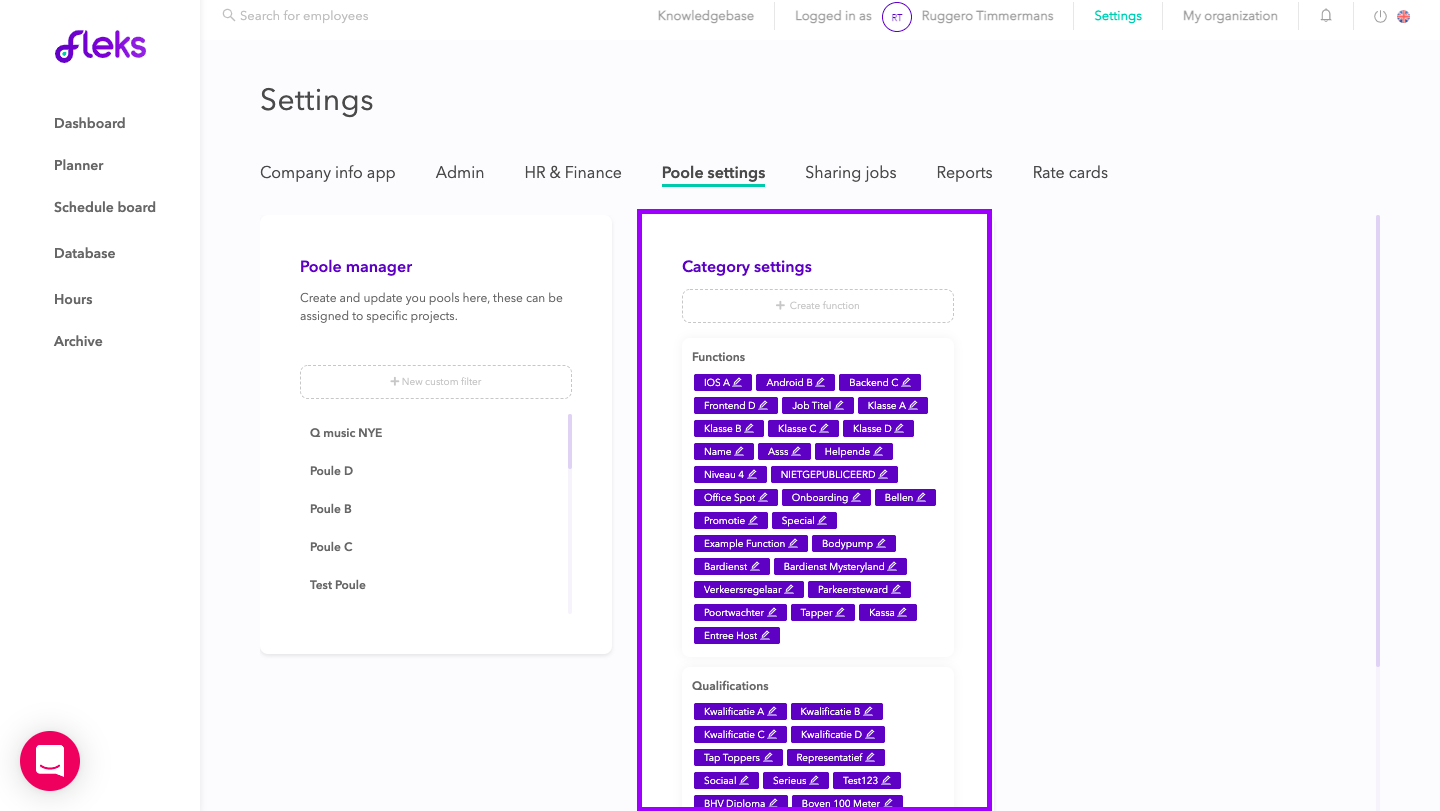
Add 'Categories'
With the categories you give the employees labels, so you can always find the right employee for the right job. The position is also the title of the job.
To do this, go to [Settings > Pool manager]
-
Functions = These are the activities of an employee and are listed in the app as a title for a service.
-
Qualifications = Additional information from the employee that you can filter on to gain insight into your database.
-
Training = The training and courses that an employee has followed.
(See the picture below)

-
-
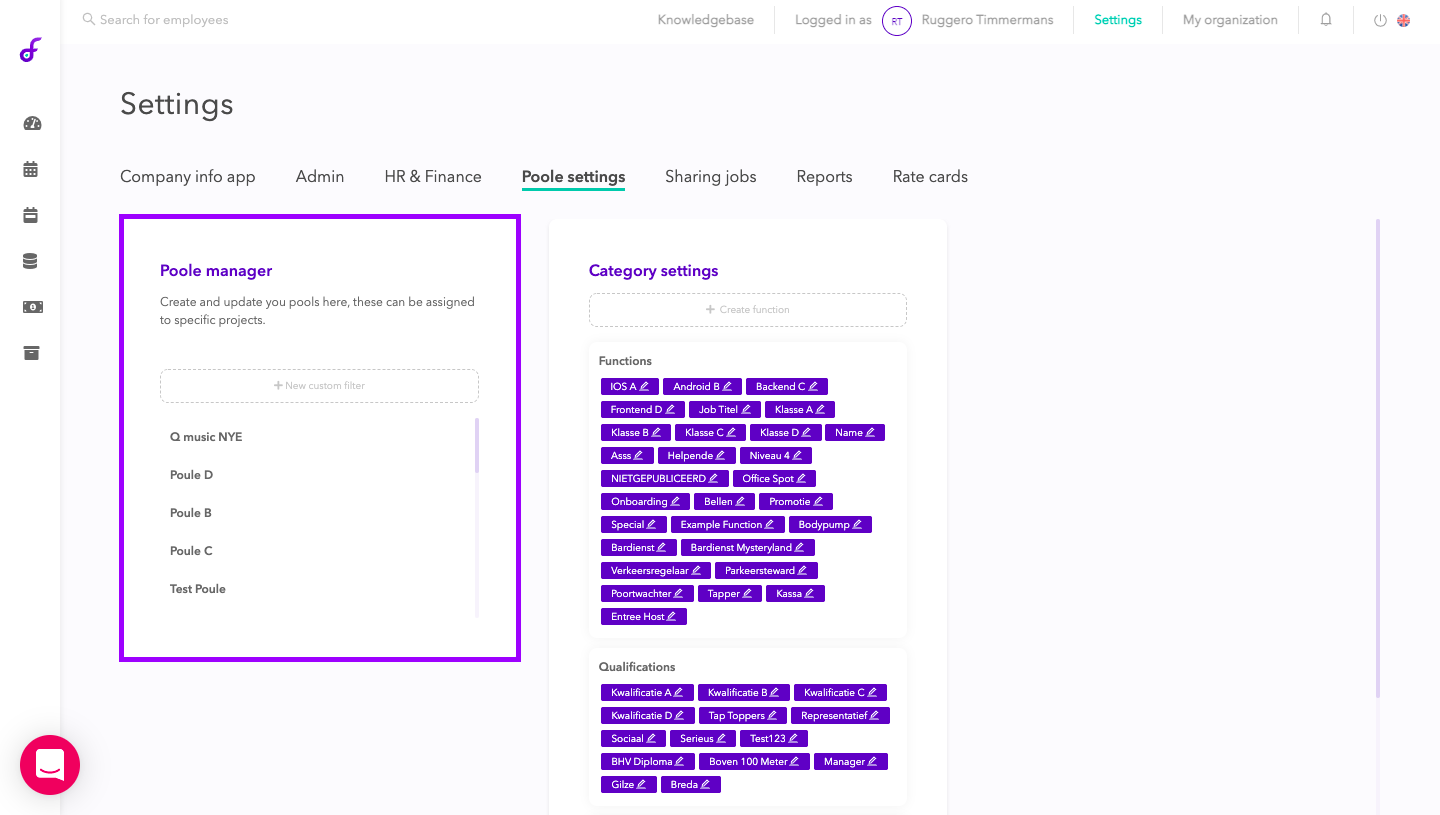
Add 'Pooles'
With 'Pooles' you can determine the visibility of the service for the employees. For example, you can create groups with specific functions, qualifications and training. Employees who have all labels from the applied pool see the open shift in the application. If no pool has been added, all employees will see the shift.
To do this, go to [Settings > Pool manager]
(See the picture below)

-
Add 'Payment-Options'
Within Fleks it is possible to set the payment agreements/method that you have with your employees. In this way, at the end, the correct information comes from the planning system.
To do this, go to [Settings > HR & Finance] (See the image below).

Within the project you choose which payment method applies. You have the following options:
-
Fixed amount: The employee receives a fixed amount per shift that falls within that project, regardless of the number of hours he/she works and regardless of age.
-
Fixed amount per hour: The employee receives a fixed amount per hour, regardless of age.
-
On contract: You add the contracts under settings and then you can attach the correct contract to the employee. Then you can optionally add contract days, contract hours and a start and end date.
-
Via function: In the wage profiles you can specify the payment agreements on the basis of an age scale. You can then add these salary profiles to positions. Based on the function of the service, that salary profile is included in the time registration.
Pay attention! For all methods, if no contract/salary profile has been added to the employee/function, the hourly registration will show 0.00€.
-

4. Add a 'Workflow'
Within the 'workflow' you can set all the steps that the employees have to do before, during and after the shift. Here you can determine the steps and order. Find out what the elements mean here!
To do this, go to [Settings > Admin] (See image below)
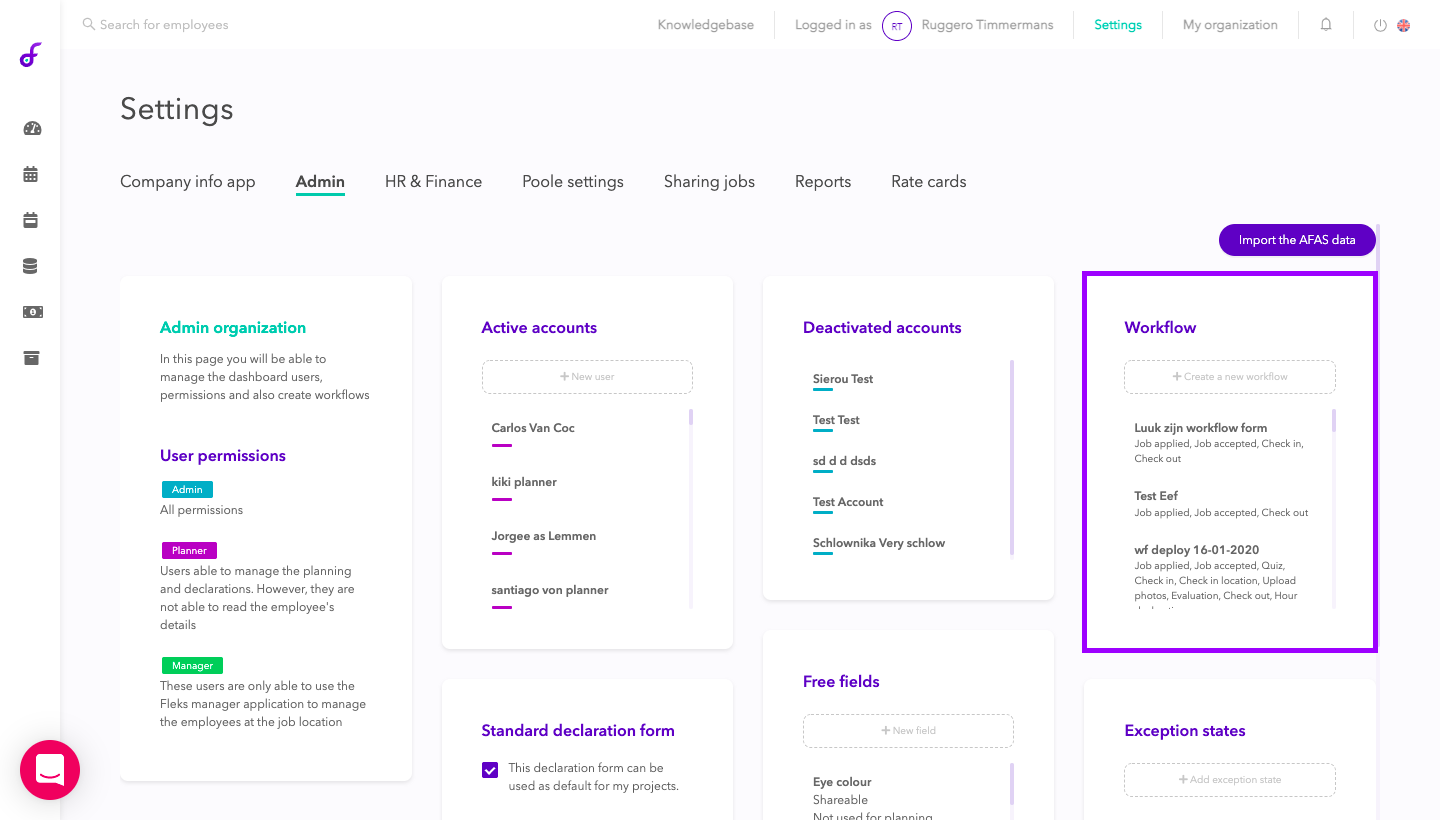
5. Setup 'Standard-Declaration'
The 'standard declaration form' is used as standard when creating projects. You could adjust the declaration form per project if desired. These settings are included in the declaration step of the workflow. To do this, go to [Settings > Admin] (See image below)

That was all for the basic 'settings'. Want to continue to the next step or go back to the overview?